
![]()
1976 Palm Beach
TZE166V100710
On my way to the GMCMI rally in Niagara falls back in 2001 my original refrigerator stopped working. I replaced it in the Spring of 2002 with a Norcold N641 3-way gas absorption refrigerator. I debated with myself a long time before I made the decision to go with a gas fridge instead of a new all electric one. The main reason I went with an absorption fridge was because we dry camp a lot and I thought that we might get more time on the house batteries with gas. Now if I had it to do over again I might go with a cheap dorm type fridge from a big box store and power it with an inverter. I could buy several cheap fridges for the price of a new Norcold. Plus in reality we don't dry camp for more than a few days between battery charges as it turns out.
Since the original unit was all electric (12 VDC and 120 VAC) and the unit I choose to replace it with runs on LP gas as well as 12 VDC and 120 VAC I had to make some modifications to the compartment where it would live. As well as provide for LP gas and a larger 12 VDC power supply cable.
Here's what I did:
Pulled the older Norcold out. It was stuck in there pretty tight because the previous owner had wedged in some Styrofoam board to augment the insulation.
Tore out the old 1/16" (or what ever it was) plywood because there was no way the new reefer would fit
Install a new LP gas line.
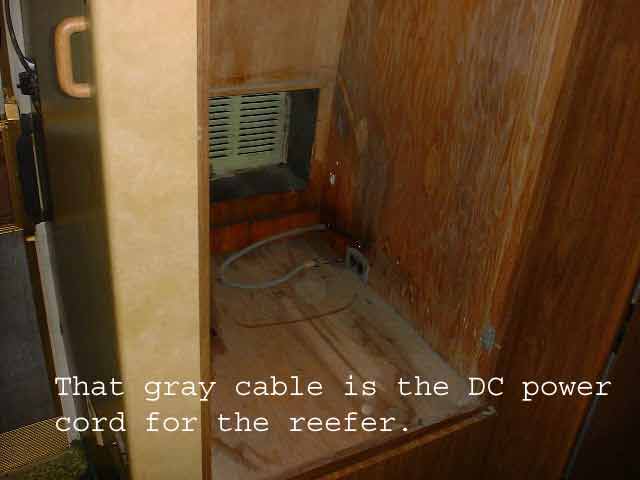
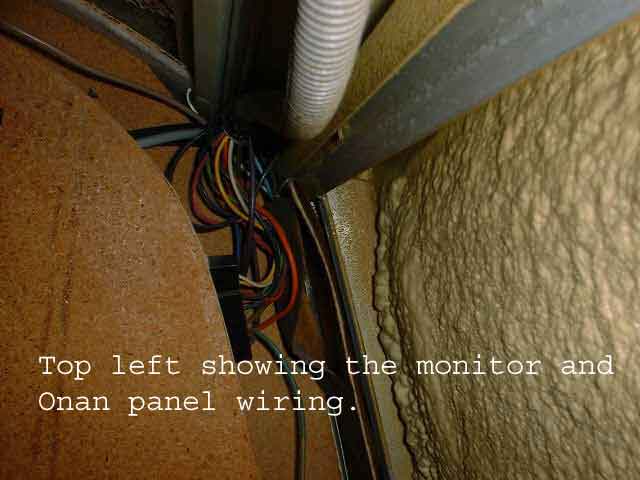
Install new DC power supply.
Because the new fridge is smaller in width than the new one I had to fill in the sides with plywood and foam board. I used material that I had laying around.
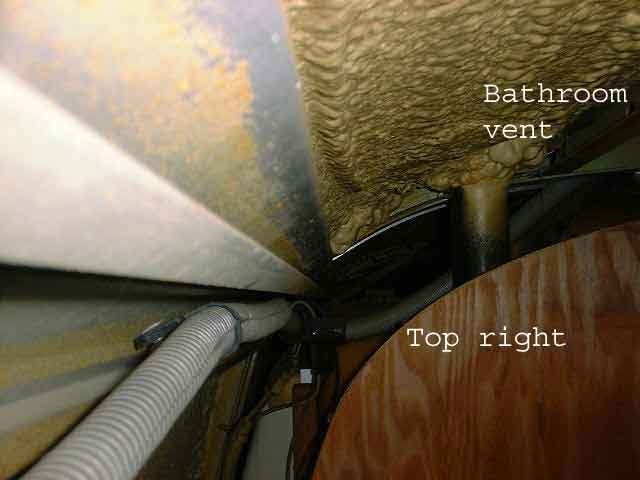
Create a "flue" to allow hot air from the condenser to flow to the roof vent per Norcold's instruction.
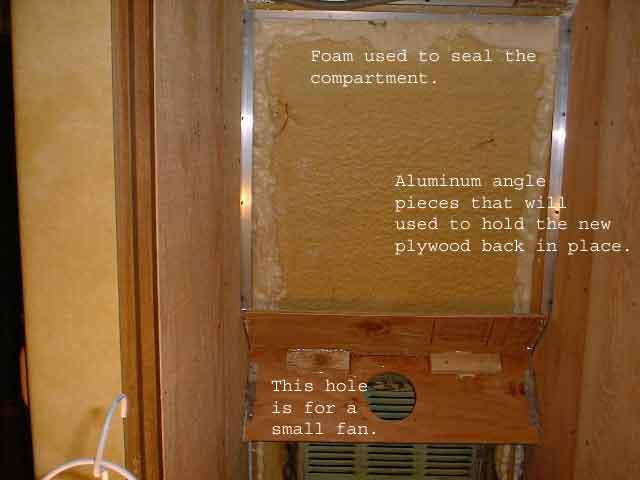
Make sure that the interior of the coach sealed from the interior of the fridge compartment. I used foam sealant.
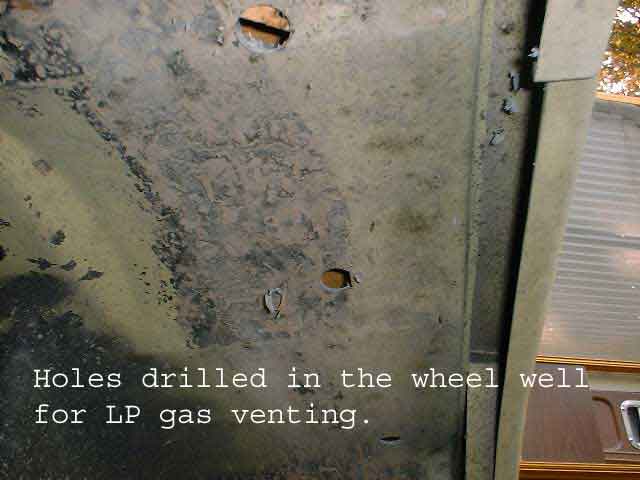
Provide holes to vent any leaking LP gas from the bottom of the fridge compartment to the wheel wheels. I copied the method from a coach that I looked at that Cinnabar had done.
Trim the interior molding because the new unit was taller than the old one.
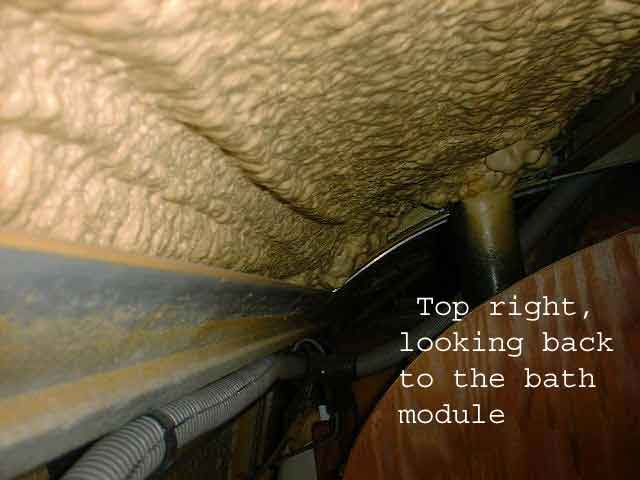
Correct a Middle-Age spread problem that caused the bath/reefer module to pull away from the outside wall of my GMC.
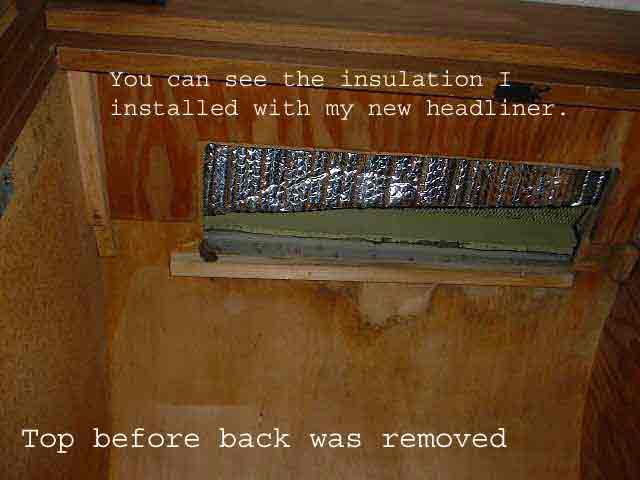
Installed a night light in the fridge compartment to help me with night time maintenance.
Installed a AC powered trouble light to assist in night time coach maintenance.
It took me a couple of weeks to do the job.
Some of this might be overkill. I talked to one of our better GMC shops and they don't do anywhere near this amount of work when they retrofit a coach with a new fridge.
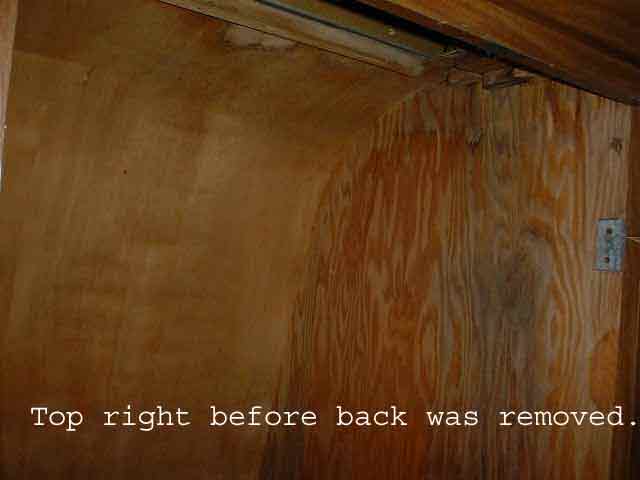

The original compartment was not big enough for the
new refrigerator. I had to remove the back which was
not much thicker than 1/16" plywood.

This is what you can see from inside the reefer compartment with the back panel removed
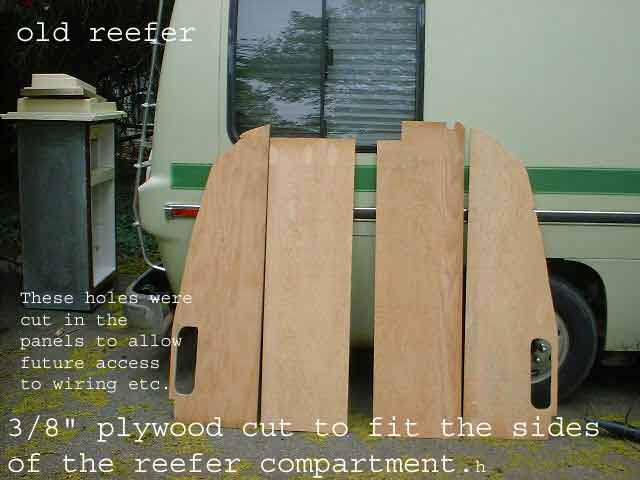
I cut these 3/8" panels of plywood to seal the back of the reefer compartment.
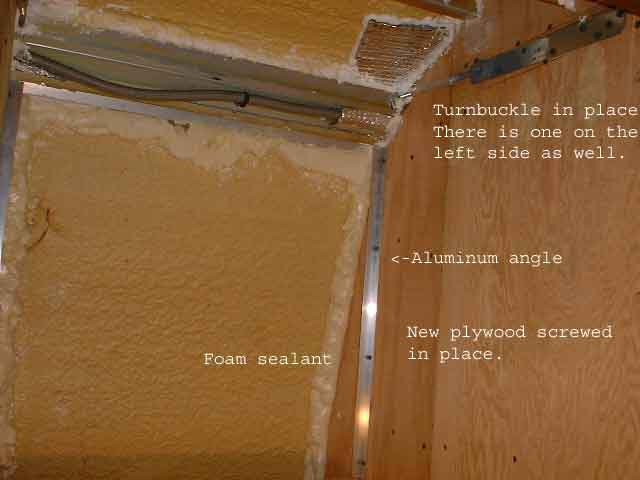
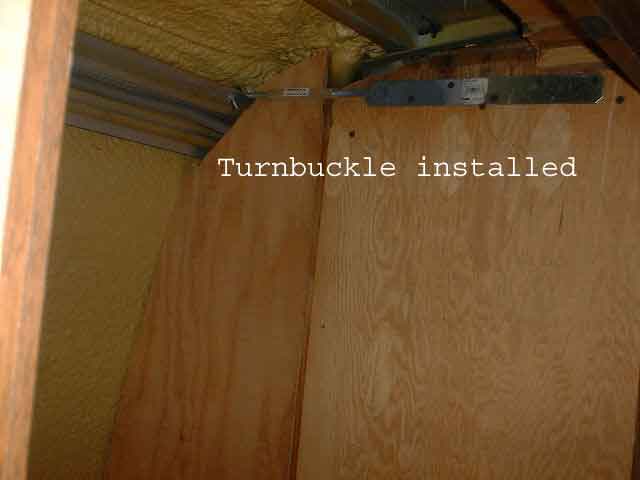 I installed turnbuckles to pull the reefer compartment in because
of middle-aged spread.
I installed turnbuckles to pull the reefer compartment in because
of middle-aged spread.
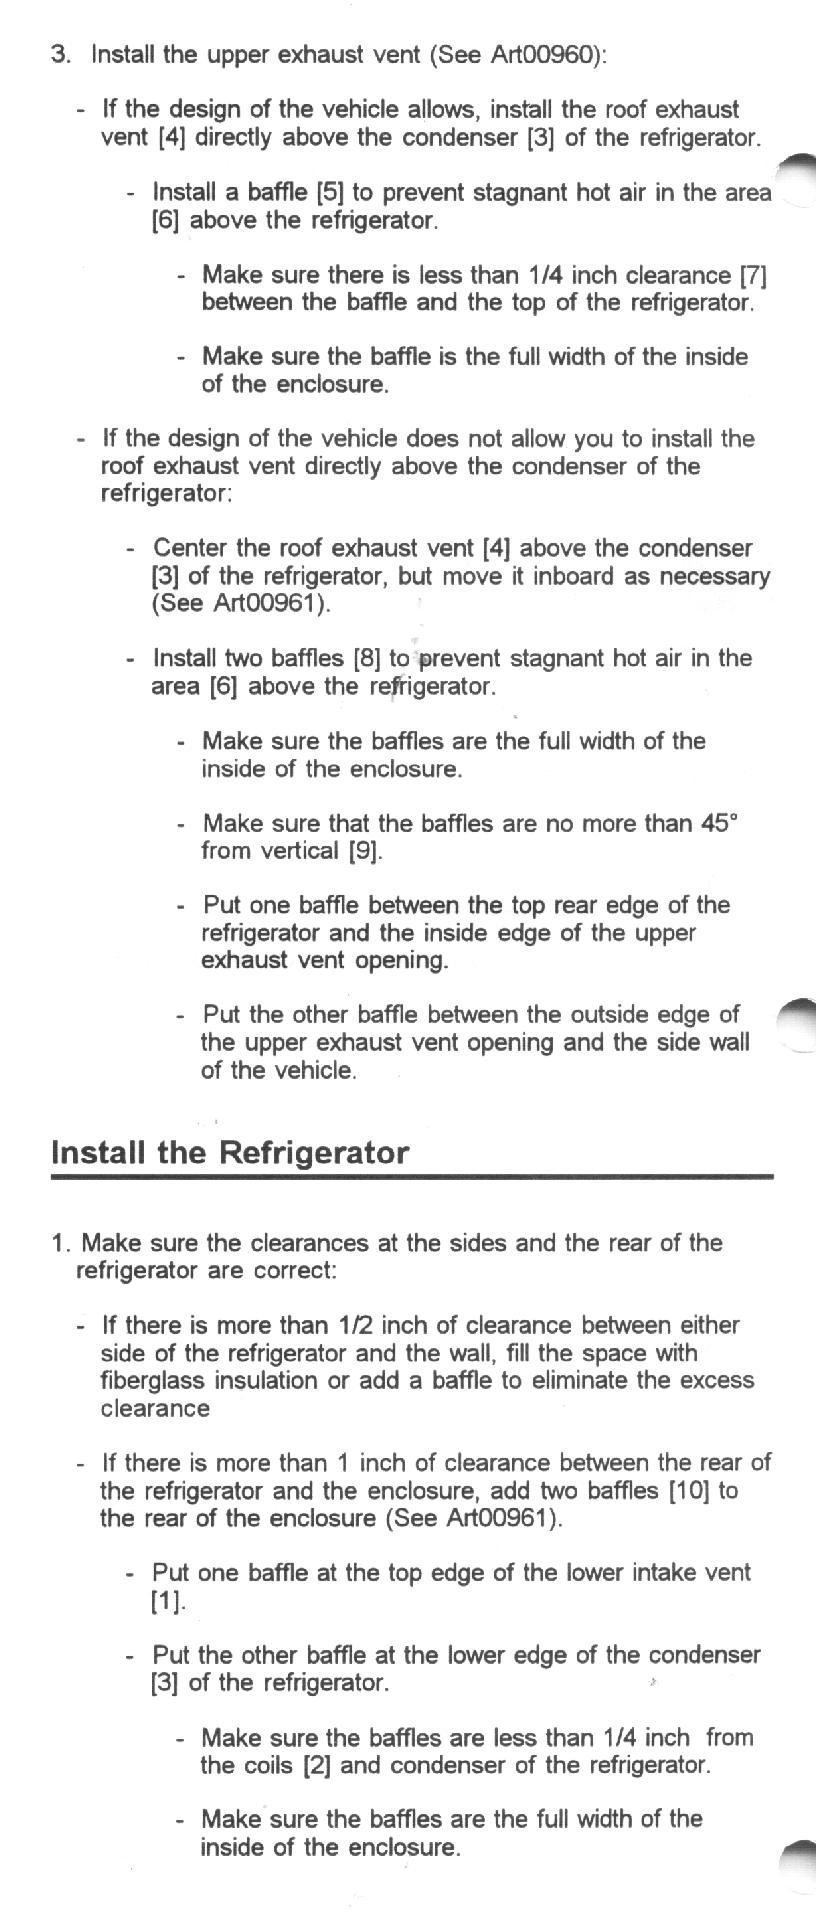
 Part of Norcold's installation directions and drawing showing how
the rear of their reefer to fit.
Part of Norcold's installation directions and drawing showing how
the rear of their reefer to fit.
A lot of the time getting the enclosure ready for the new reefer was spent making sure that the side and back clearances were adequate. I had to make sure that the rear of the enclosure was about 1" away from the condenser coils. Since the original reefer was bigger than the new one I filled in the gap with 1/2 foam board that I had laying around from a home improvement project.
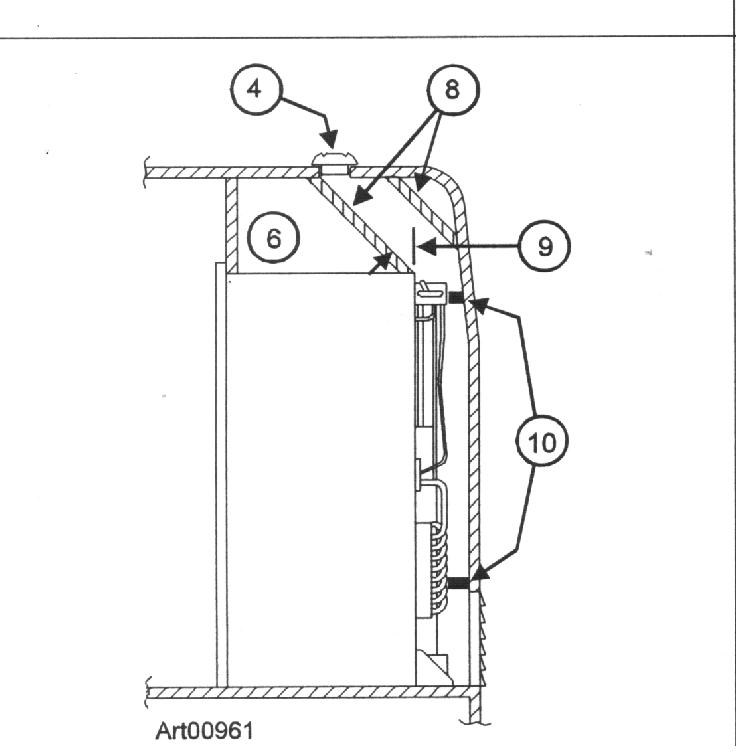
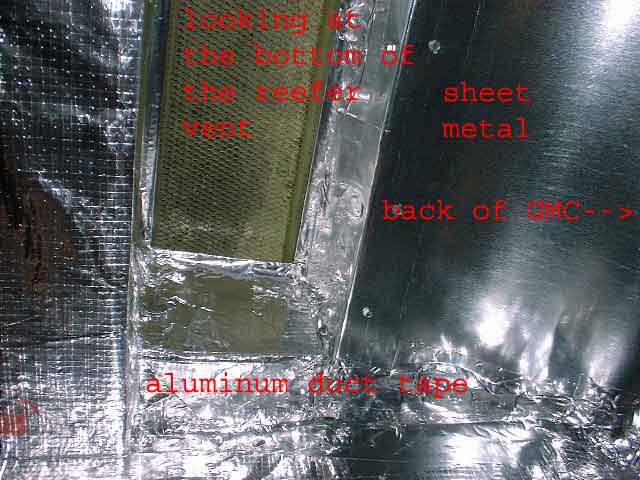 The sheet metal in the back of the compartment is to direct the
warm air coming from the condenser coils outside.
The sheet metal in the back of the compartment is to direct the
warm air coming from the condenser coils outside.
 .This
shows where I had a clearance problem with an outlet box I installed for AC
power. I had to bend the frame of the reefer to accommodate the 120 VAC
plug
.This
shows where I had a clearance problem with an outlet box I installed for AC
power. I had to bend the frame of the reefer to accommodate the 120 VAC
plug
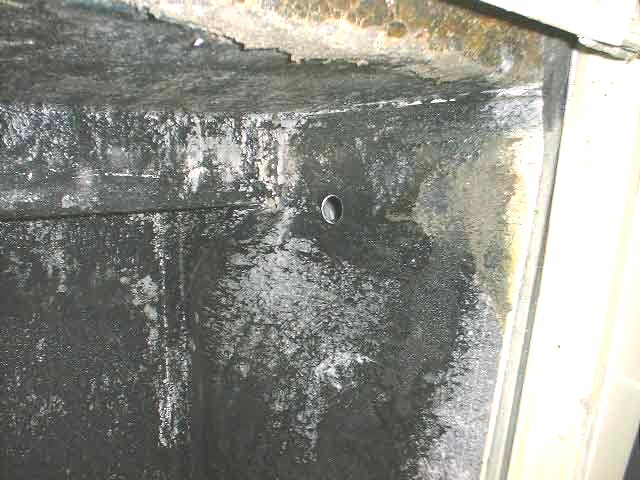
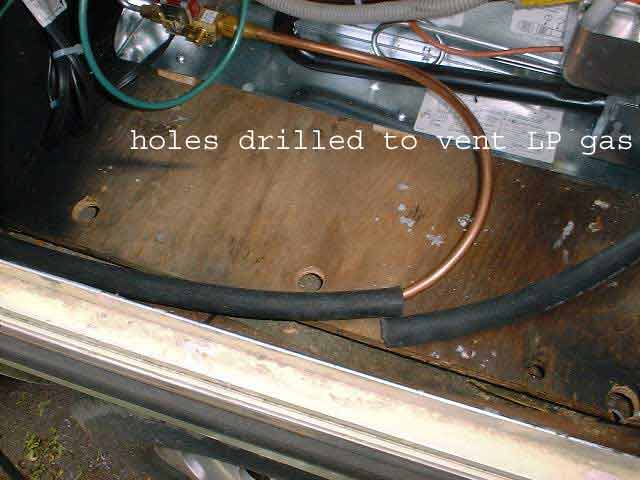 I ran heater hose through these holes in the wheel well to the floor of the
reefer compartment.
I ran heater hose through these holes in the wheel well to the floor of the
reefer compartment.
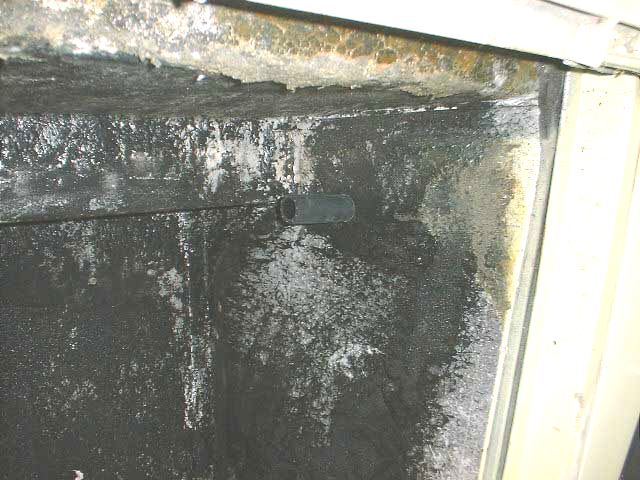
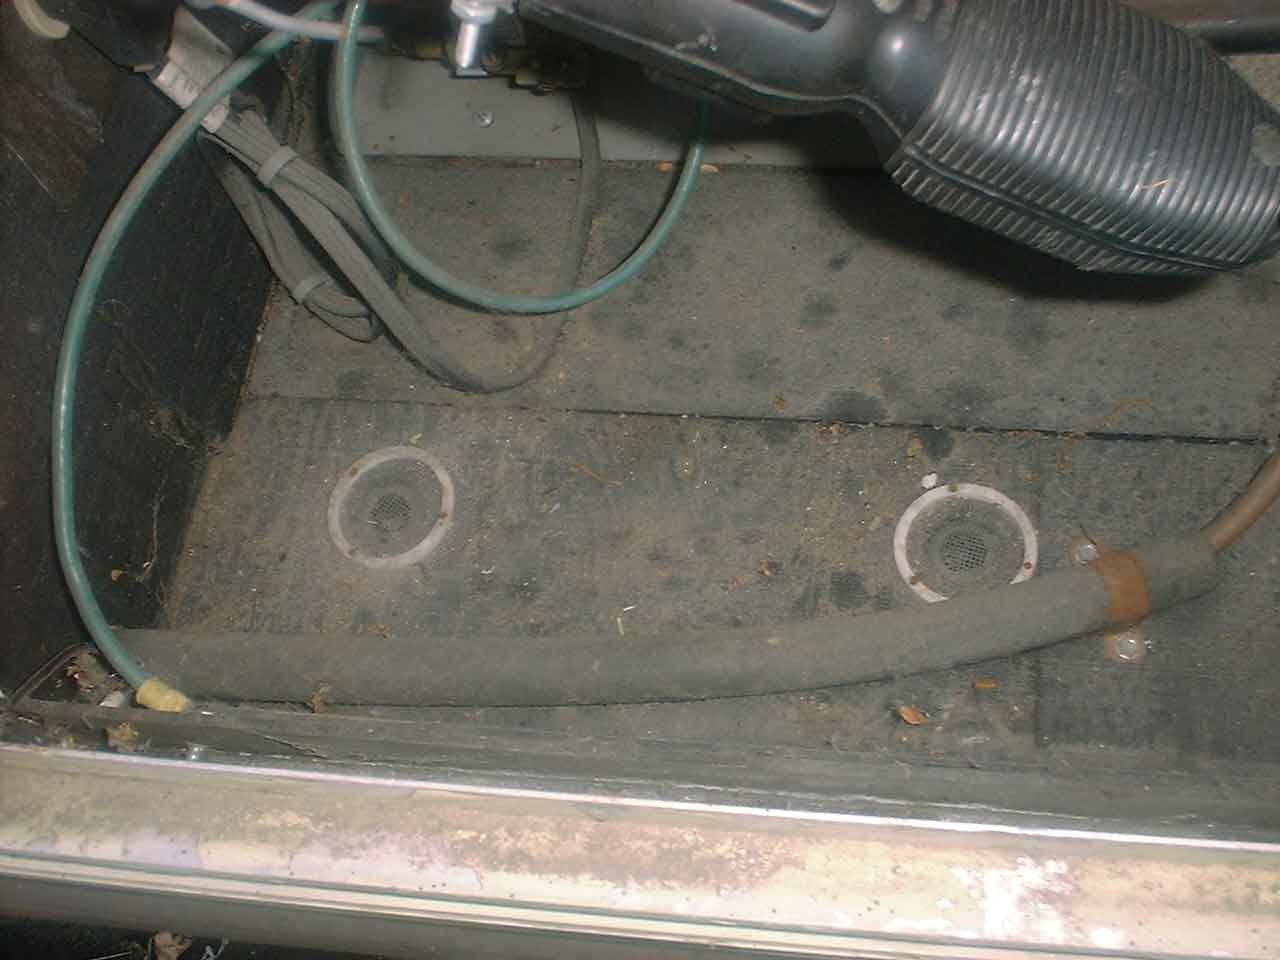 To cover the vents (keep out junk from the wheel wells) I cut
some PVC pipe in 1/8" sections and screwed them over some fiberglass screening I
had on hand. This picture was taken in 2006 which is why it is dirty in
there now.
To cover the vents (keep out junk from the wheel wells) I cut
some PVC pipe in 1/8" sections and screwed them over some fiberglass screening I
had on hand. This picture was taken in 2006 which is why it is dirty in
there now.
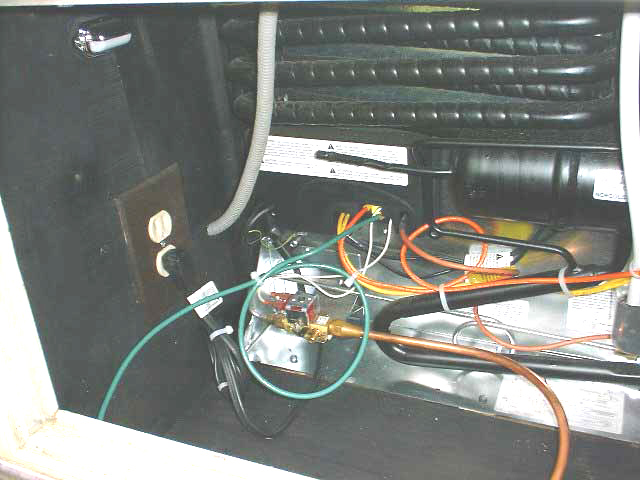
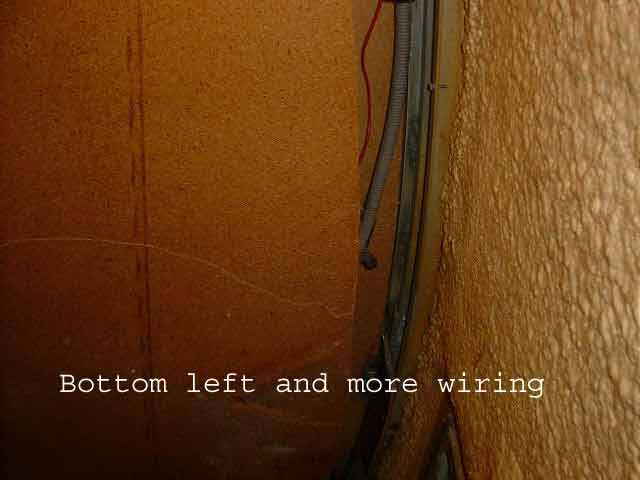
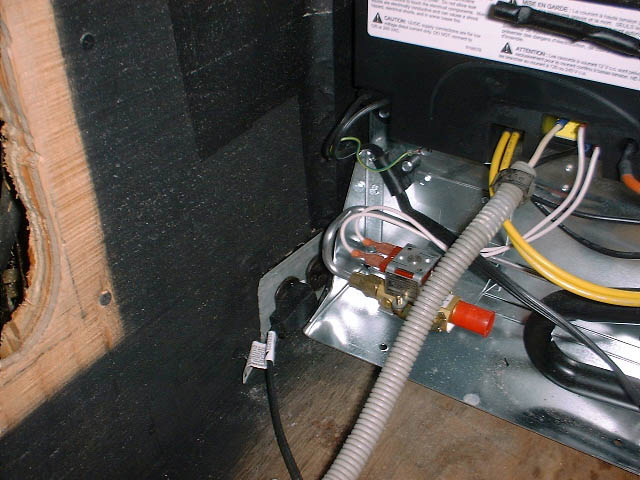
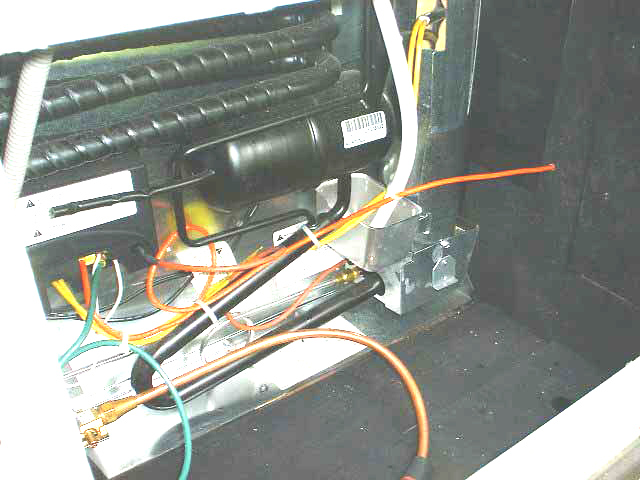 Since this is a 3-way reefer, I installed heavier gage ground
(green) and DC power supply (orange) wires.
Since this is a 3-way reefer, I installed heavier gage ground
(green) and DC power supply (orange) wires.
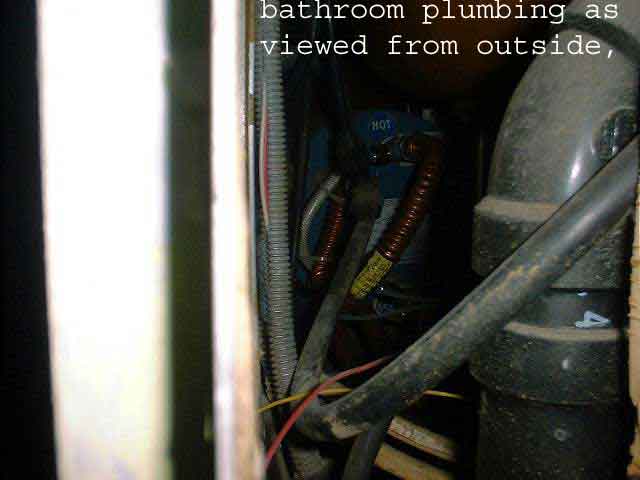
I had to run a gas line from the LP tank to the reefer. I ran that line through the bathroom under the sink. The left picture shows a hole punch in place that I used to cut a hole in the compartment. The center picture shows the hole and the picture on the right shows where I inserted a 5/8 OD heater hose. I fished the heater hose under the bathroom sink, all the way through to the reefer compartment. Then using the hose as a conduit I pushed a 3/8" copper gas supply line through the hose all the way to the reefer compartment. I think this made the job much easier. Plus this helps to seal the bathroom from the gas and reefer compartments.

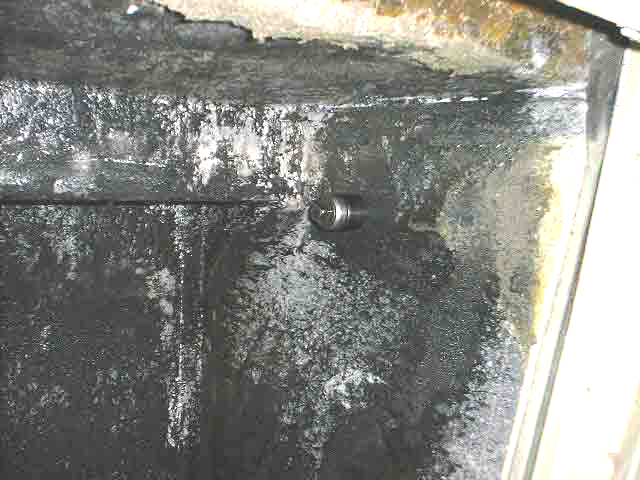
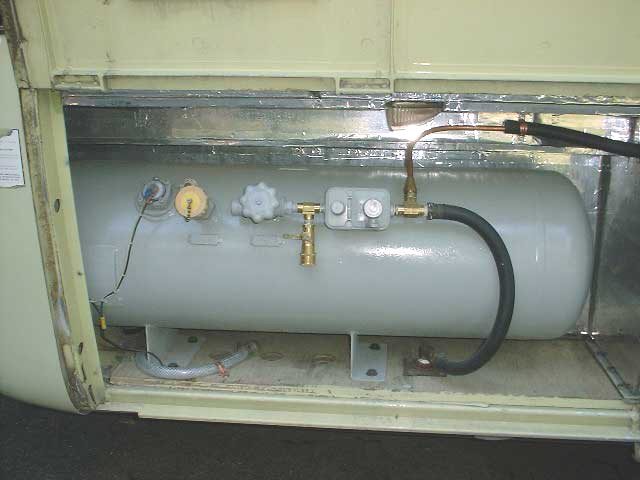 The reefer gas connection in the LP
compartment.
The reefer gas connection in the LP
compartment.
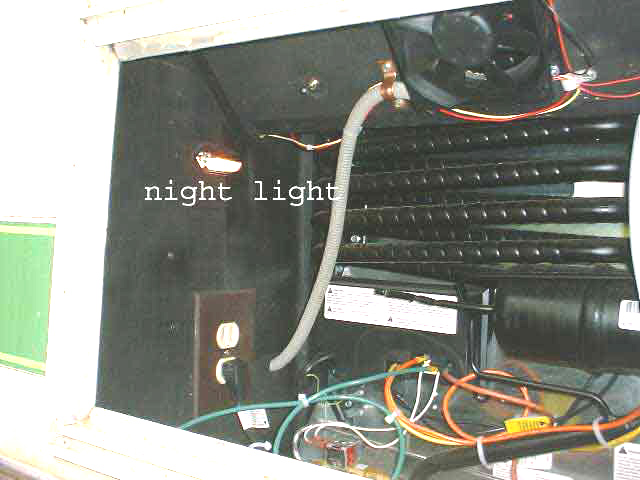 I installed a 12 volt light on the side of the compartment so that I could
service the reefer in the dark.
I installed a 12 volt light on the side of the compartment so that I could
service the reefer in the dark.
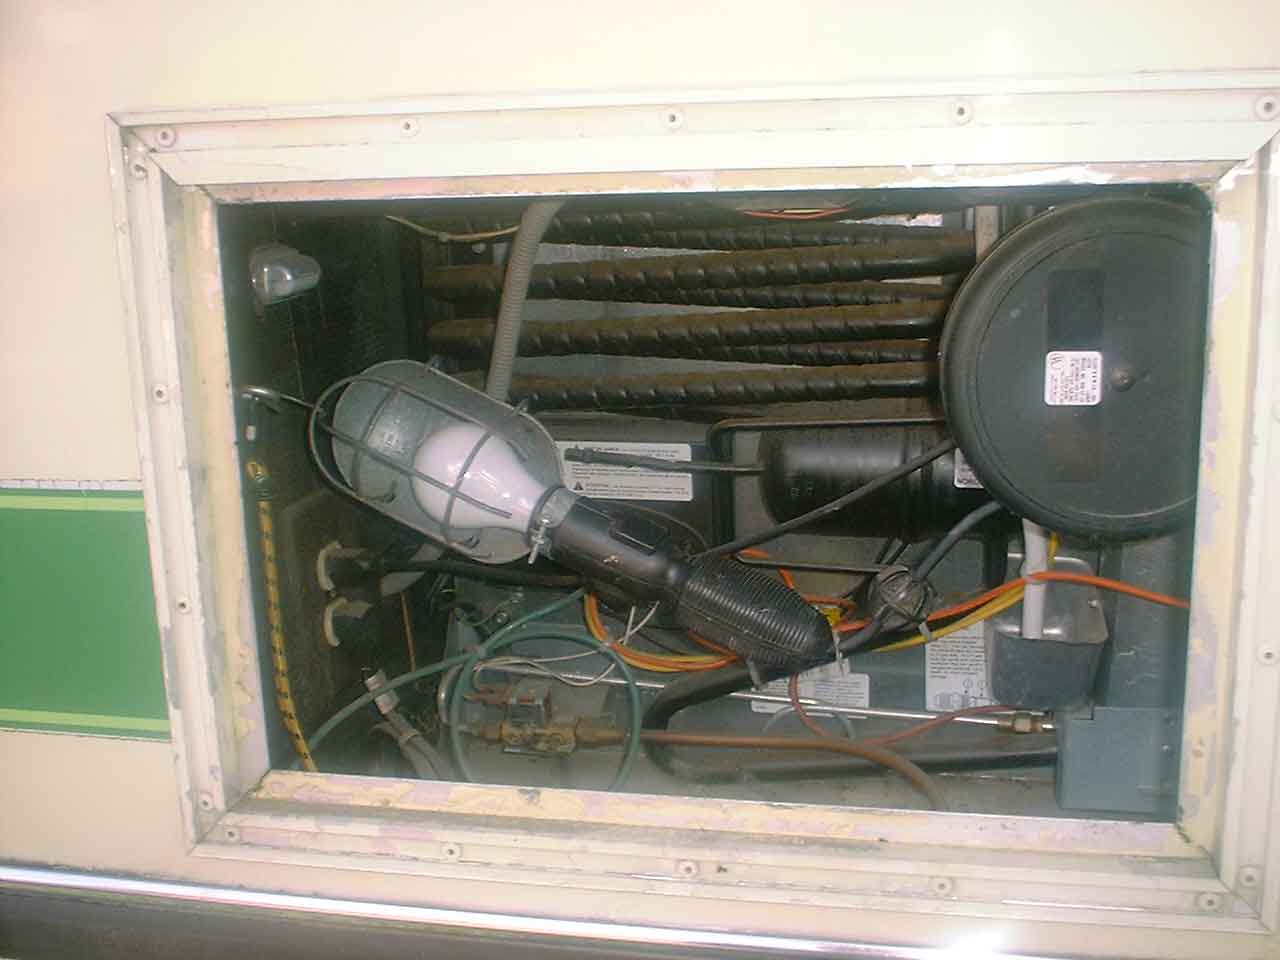 I also installed a 120 VAC trouble light in the reefer
compartment. I use that quite a bit when working on my coach.
I also installed a 120 VAC trouble light in the reefer
compartment. I use that quite a bit when working on my coach.
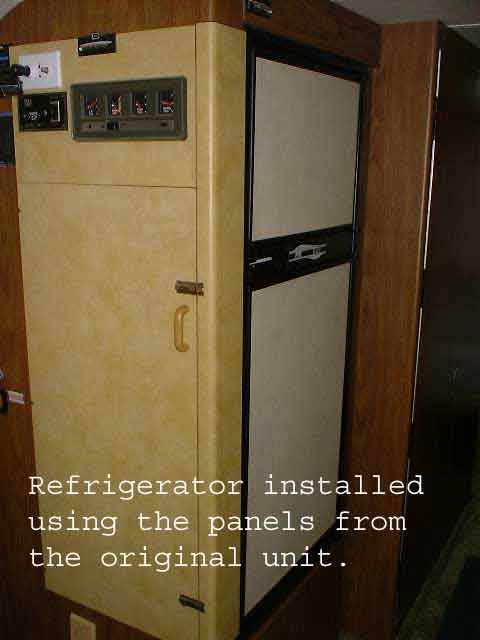 The reefer didn't come with front panels. I used the panels
from the original reefer.
The reefer didn't come with front panels. I used the panels
from the original reefer.
Page was last modified: 08/29/2006 06:06:30 PM